How it works
This original five-chapter guide explains mirage full map fundamentals through the real objectives, maps and decision-making systems of Counter-Strike 2. It distinguishes stable mechanics from dated Premier or balance information.
Practical strategy
Begin with understand the connections; then work through take mid with supporting utility. Put the steps into practice one at a time before queueing ranked.
Mistakes to avoid
Do not copy old CS:GO lineups, assume a fixed matchmaking rotation or change five habits at once. Evaluate whether each step actually solves your round problem.
Mirage full map fundamentals: step-by-step
Understand the connections
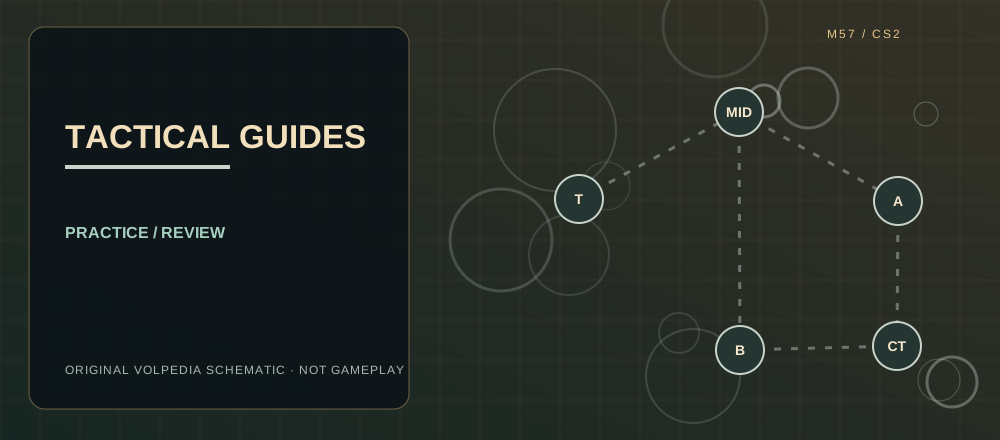
Mid is related to connector, window and catwalk. A Palace and A ramp pressure can be combined, while B apartments creates a separate route. One uncontrolled connector can undo an otherwise good site execute.
Take mid with supporting utility
Do not treat a single solo mid smoke as map control. Trade a player contesting window or connector and update teammates on whether defenders actually moved.
Build a coordinated A execute
Give the entry team space with smoke and flash timing, then approach with a second player ready to trade. Assign a bomb carrier and keep one player aware of a rear push.
Defend B without dumping everything
A B anchor should listen for apartments pressure and retain a fallback angle. If a fake draws utility, communicate it without insisting the other four CTs instantly rotate.
Replay the first mistake
After a difficult round, review whether a player died untradeably in mid, utility arrived too late or a rotation abandoned connector. Correct the process before adding advanced lineups.